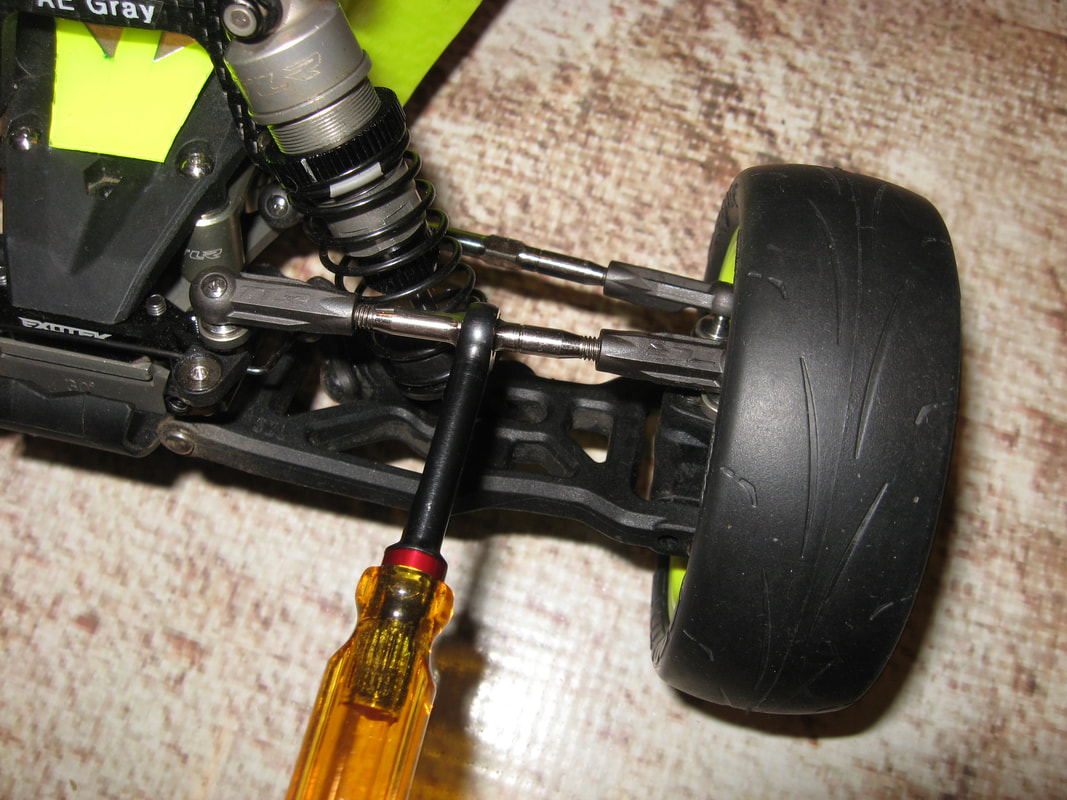
 Adjusting tie rods is one of my least favorite RC tasks, however, here are some quick tips to make the task both faster and easier. Lubed & Faced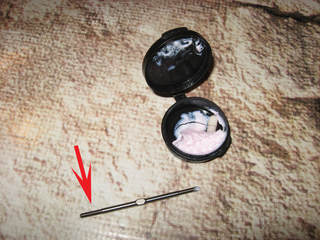 Use a quality lubricant when threading ball cups. This ensures the rods are easier to adjust later and will be less likely to "stick", or pop off. Bees wax, lip balm, any silicone or lithium base lube will suffice. Minimal lube is required, do not pack the threads. A dry lubricant (such as graphite, or bar soap), can be useful for breaking cups in, but should be cleaned out as soon as possible and can result in an increase in unwanted pop offs. Liquid lubricants, such as oils or greases, should never be used, as these will attract dirt, and result in premature wear or failure of the components. Ensure that your rods are all "faced" the same direction, meaning that all the threads face the same direction (red arrow). This will facilitate later adjustment so that forward is "tighten", and rear is "loosen". No more guessing, or looking for the small indicating groove on the rod. This is a real time saver in the pits. Tools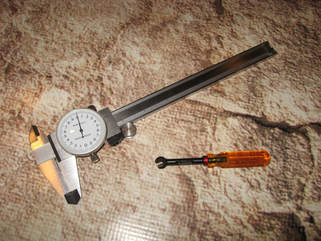 Proper tool selection is imperative. Use a high quality properly sized wrench for adjustments, never use locking or gripping tools, as these will only mare the rod. A set of calipers is a required tool for RC racing. These do not have to be expensive, have a dial, or a LCD. Inexpensive calipers can be picked up online, or at most tool supply shops. Select a caliber that is locking, meaning, that the measurement on one side can be repeated on another. I prefer a dial caliper, as it does not have batteries that may fail. The basic idea is to ensure that the left side of the car is equal to the right side, regarding rod length. Adjustments do not have to be perfect to the .00001 mm, but even fine errors can result in inconstant suspension and odd behavior of a car on the track. The fast guys know precision pays off. There are a number of quick adjustment tools for threading cups onto tie rods currently on the market. Some of these can be combined with power tools. While very fast, I prefer to do the rod adjustment by hand. If using these tools, ensure that you have the properly sized cup receptacle, and that the slowest setting is used on the power tool. It is very easy to warp (via overheating) the cup plastic, burn off the lubricant, or hyper-extend the rod shaft into the cup. TOol Hacks & wear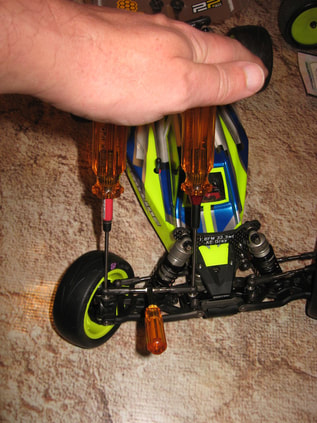 Even properly lubricated and broken in rods and cups can be troublesome at times. On more modern RC, where the ball cups have an access hole, "pinning" with two drivers for adjustment can keep ball cups in place, and your sanity intact.
Also, if you find a ball cup is repeatedly popping when running it may be time to replace it. Ball studs and cups will wear out, especially if not kept clean, and may require replacement. Ball cups should pivot easily, and should never bind. If binding, figure out why, normally due to wear, grime, or defective plastic. Clean or replace as needed.
1 Comment
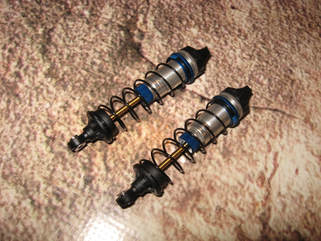 Ever wonder why the fast guy's cars seem to soak up the bumps, when yours is bouncing all over the place? A lot of this is tuning (springs and fluid), but a lot of it is simple tricks that you may not be aware of. Tuning is going to vary from track to track, but I will address some simple hacks that can put you above other racers. Parts is parts? Not all shock parts are made the same. If your kit manufacture makes upgrades for the shocks, buy them. If cost is an issue, at least get the machined pistons. Machined parts have a higher tolerance, are less likely to stick, and will increase both the speed and longevity of the parts. Depicted left is an Associated 1.6 machined nylon piston. A marker has been passed over the piston engraving, so that it is easier to read. Proper Tools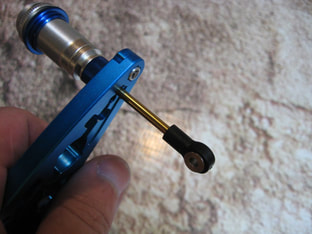 Buy proper tools to assist with your shock build. Marring of the shock shaft is the number one reason why shock seals fail, and will cost you money when rebuilding. If cost is an issue, use a scrap section of cloth or cardboard to act as a shield when assembling. Just don't clamp on it and call it good. Doing so will leave marks on the shaft, and this will tear up the seals resulting in both leaking, and inconsistency on the track. Stick it Use minimal thread lock (blue) on the piston screws, and allow it to dry overnight prior to installing fluid. Nothing worse then a piston working its way loose inside the shock during a run. Also, heavily lube the seals with Associated Green Slime (AE 1105), or equivalent. This will help lubricate the seals for initial passes until the fluid can take over. Running dry seals can cause them to unseat, and wear. Be advised that if using the lube, there may be minor leakage to the seals for a few runs, this is normal. If the leaking is excessive, or does not stop quickly, you may need to tear the shock down to asses what the issue is. Keep the shaft / seal area clean, an excessive build up of dirt will reduce the life of the seals. A simple shock brush is all that is needed (VRCMS 009). Double Check it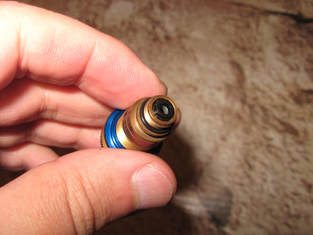 Ensure that all required parts are present (left over parts are never good), seated / orientated properly, and move smoothly. Also ensure that the shock ends are symmetrical, meaning they are threaded to the same length. Having one miss-threaded to a differing length will result in inconsistent handling and is a common mistake. Pillows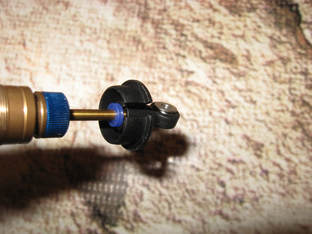 This is a hack I picked up from a sponsored racer. Install an extra shock seal at the base of the shaft on all shocks. This tip is not as noticeable on very smooth tracks, but on exceptionally rough surfaces, the extra rubber spacer makes the landings feel less "jarring", resulting in a smoother more controlled run. Simple common sense tricks, result in faster times, less wrenching and more fun.
|
AuthorMichael Rogers Archives
July 2022
Categories |

 RSS Feed
|
|

|

|
The best way to search for the part you need is by the manufacturer's part number. If you do not know the part number, please visit our Archive Page, or use a common term like, "Losi XX shock tower."
All prices are in USD. Copyright © 2011-2024 Valkyrie RC Motorsports LLC. All rights reserved. All product names, logos, and brands are property of their respective owners. All wording and photos on this site are the property of Valkyrie RC Motorsports LLC, and may not be used without prior written consent..
BBB current rating is A+.
BBB current rating is A+.